Before installing the equipment, please read Before you start and Preparations.
Install the thermocouples
Install and secure the type K thermocouples properly at the predetermined positions in the structure before concrete placement.
- The tip of the thermocouple should be secured at the exact position where you would like to measure the concrete temperature
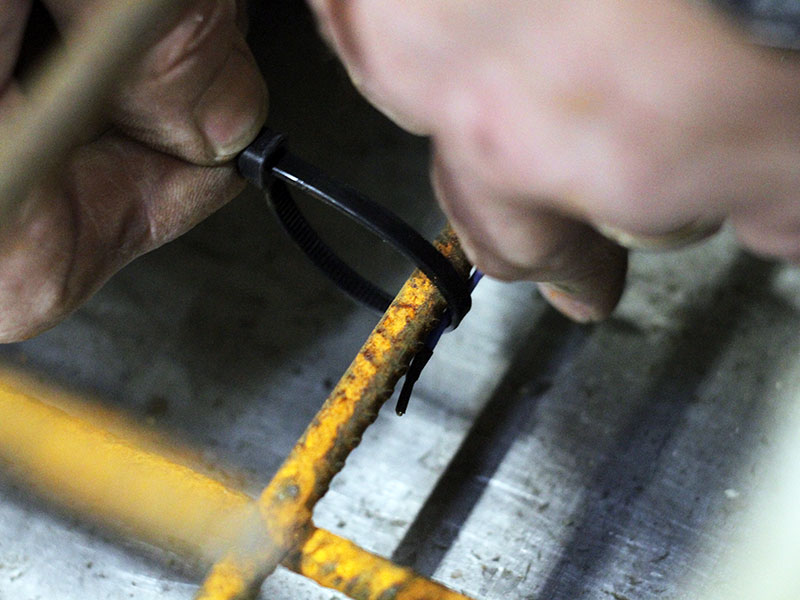
- Secure the thermocouples using plastic cable ties or strong tape so they stay in place during concreting operations
- Shelter the thermocouples from direct impact during pouring by fastening them along the bottom of the reinforcement (also using plastic cable ties or strong tape)
- Consider the ideal route from the monitoring position to the transmitters. The thermocouples must be long enough so they do not get pulled
Do not use metal rebar ties or alike as they might cause damage to the cables!
Consider good cable management practices, e.g. marking each thermocouple with a physical. This will make it easier to remember where each thermocouple is positioned in the structure and will assist when you are assigning each thermocouple to a transmitter in the web portal.
Connect the Maturix transmitters
When you have correctly installed the thermocouples, you can connect them to the transmitters:
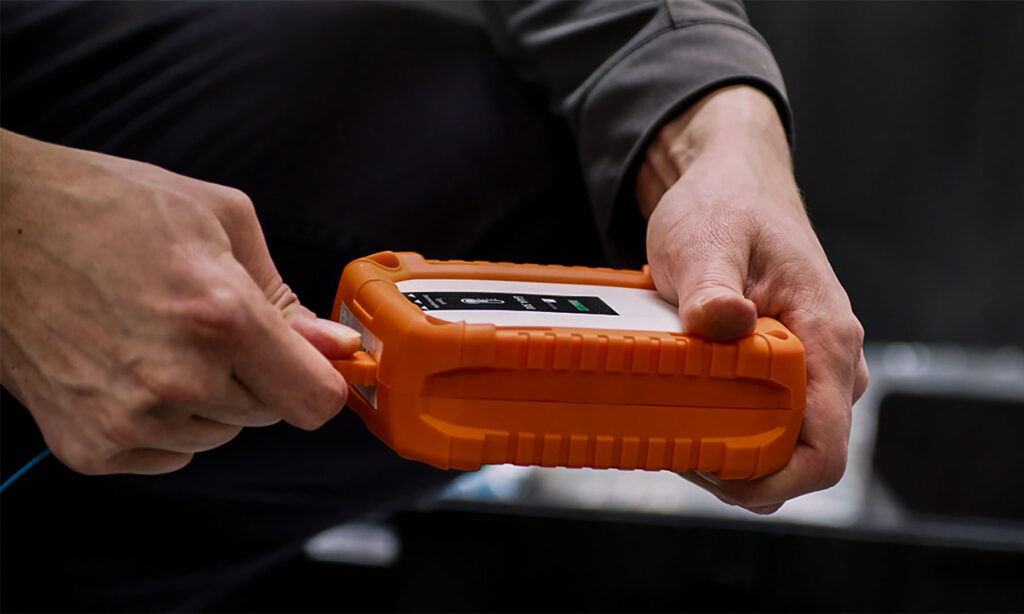
- Connect each thermocouple to a transmitter
- Ensure that you insert the thermocouple plug correctly into the transmitter’s socket. The plug has one wide pin and one narrow pin.
- When the thermocouple is connected, the transmitter will start sending data and the LED will light up for a couple of seconds and start flashing
- Mount the transmitter at a secure location
- Make sure the transmitter will not get damaged during operations
- Reassure that the thermocouples are well-positioned and well-fastened, so they will stay in place and will not get damaged or disconnected during pouring
- Check under Devices in the web portal that data is being received by all transmitters which have a thermocouple connected
Once everything has been successfully installed and connected, pour the concrete.
After pouring, check that the thermocouples are still properly connected to the transmitters. If the thermocouples are pulled out, the temperature readings will not be transmitted.
If the LED is not flashing when connecting the thermocouple - and no readings are registered in the Web Portal - then there might be an issue with the transmitter or its battery. Use another transmitter and remember to contact your reseller for support/service.
Do not place the transmitters in direct sunlight as this will affect the internal temperatures, potentially giving false readings and lowering the battery lifetime!
You can choose to start the monitoring right after installation, or you can do it at the time you want the report to start including data.
If you start the monitoring before the concrete has been poured, the report will most likely include data that should not be included in the maturity calculation and strength prediction. In this case, you can use the Data Editor to adjust the start time.
If you start the monitoring before the concrete has been poured, the report will most likely include data that should not be included in the maturity calculation and strength prediction. In this case, you can use the Data Editor to adjust the start time.